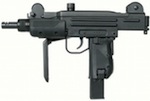
Cybergun - KWC Mini UZI BB Gun Full Auto Modification

Related Posts:
"Before you attempt to do this modification you need to be aware that it may void your warrantee and/or you may fail and either break something or incorrectly reassemble your Mini UZI rendering it "Broked"! This is your problem so please do not attempt this modification (even though it is fairly easy to do) unless you're 100% confident you can do it and are aware of the possible consequences. Make sure to also take into account any gun laws in your area prohibiting full-auto capable firearms!"
(Special thanks to Herman for showing me the ropes on this modification)
This modification will make your semi-auto "only" Cybergun/KWC Mini UZI BB Gun into a full auto capable 4.5mm BB machine gun. From the factory the full auto switch position (Far Left "A") is disabled but the full auto selector position is visible. The actual full-auto functionality is still present in the Mini UZI but has been decommissioned by the simple means of blocking the selector switch from being moved to the far left full-auto or "A" position.
This full auto modification will show you how to disassemble the Cybergun - KWC Mini UZI BB Gun and remove the small plastic selector switch blockage so you will be able to manually switch between semi auto and full auto modes. This modification takes about 15 minutes to complete.
<!-- google_ad_client = "ca-pub-9036472715040282"; /* Replica Airguns Content */ google_ad_slot = "1487049688"; google_ad_width = 468; google_ad_height = 15; //-->
You will need the following tools: A pair of pliers and either a pair of small wire cutters or a file.
Let's begin! Below are the two pre-modification positions available from the factory:

"S - SAFE"
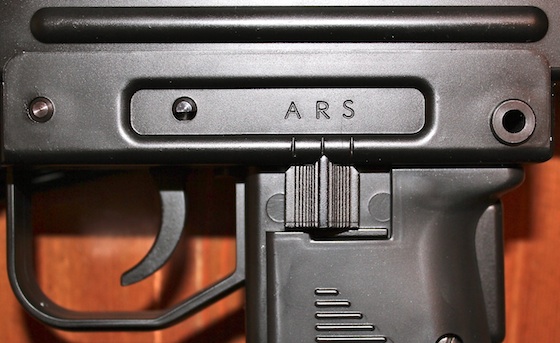
"R - SEMI AUTO"
Below is a closeup of the top bolt cover that we will be removing to access the internal bolt for removal:
In the next photo we have removed the bolt cover by pressing the "angled button" towards the rear sight:
And now the bolt is removed:
I removed the grips but this is not necessary:
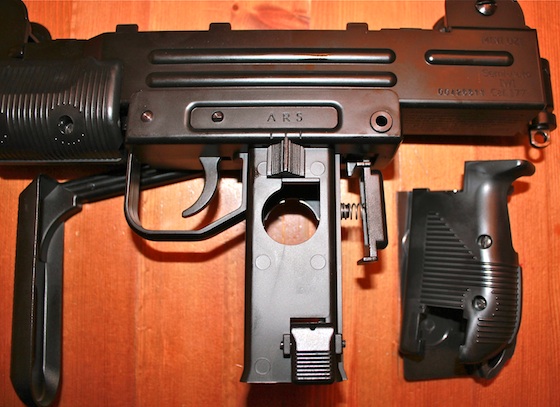
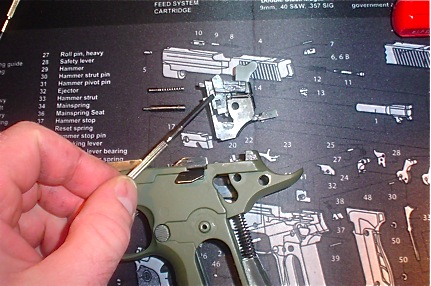
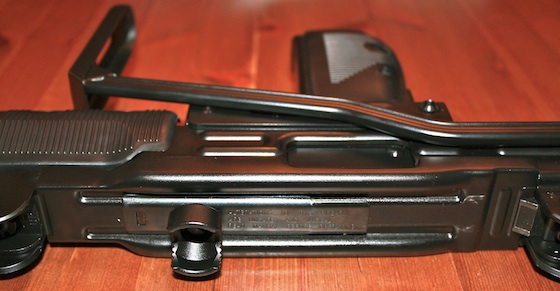
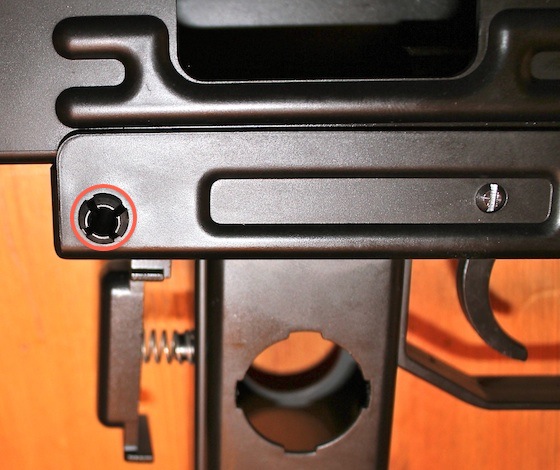
Now you will need to remove the lower receiver pin located at the back end of the receiver closest to the grip safety. Use a pair of pliers to pinch the metal pin while pushing it through. Once the pin is started you can use the pliers on the other side to pull the pin all the way out. You may need to us a fair amount of force to do this as the fit of the pin is tight:
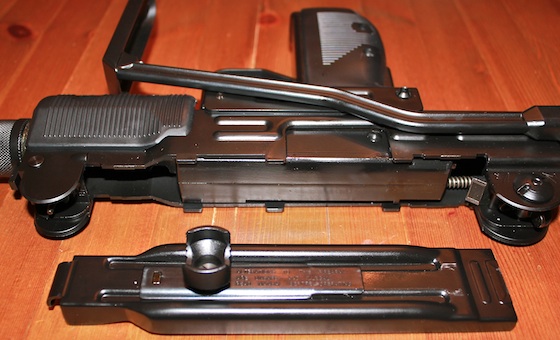
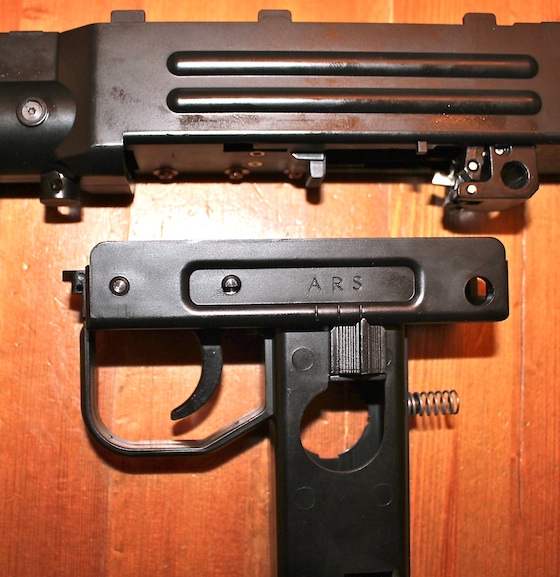
Once the pin is removed the lower receiver can be detached:
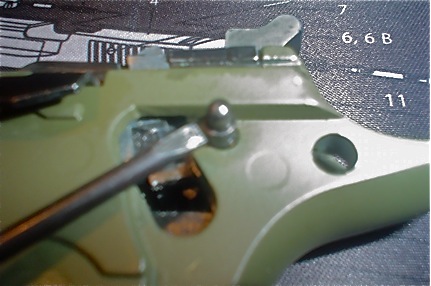
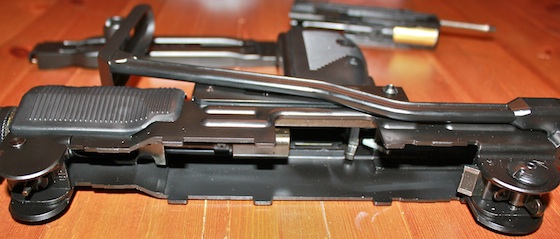
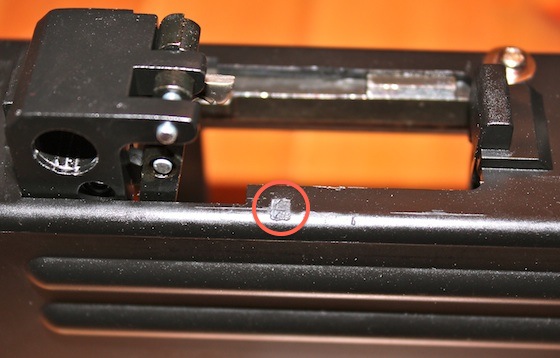
You can see in the picture below the small plastic nub that we will need to remove in order to restore full-auto capability:

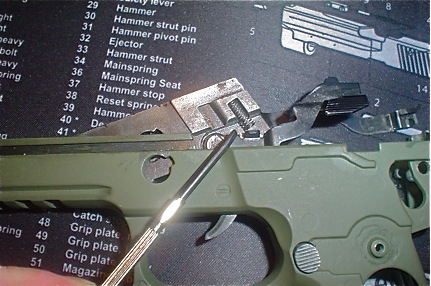
I used a pair of small wire cutters to clip this plastic nub off, but you could use a file too. Just make sure that the plastic is flush and does not have any burs or protrusions.
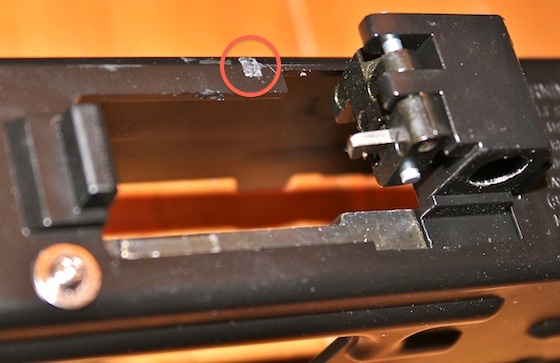
Below is a photo of the Plastic Nub removed from another angle:
After that, all you need to do is reassemble you Mini UZI in revers order to finnish the Full Auto modification.
In the below Photos you can see we have restored the ability to move the fire selector switch over to the "Far Left" or "A" position, reenabling the Cybergun - KWC Mini UZI BB Gun to shoot in full auto when desired.
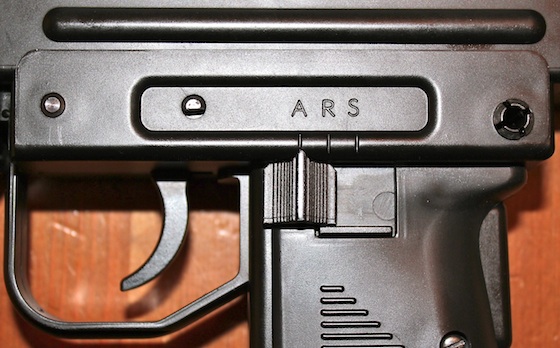
"A - FULL AUTO"

Now enjoy your Cybergun - KWC Mini UZI BB Gun in full-auto as it was originally designed!
Here is my Vimeo Video in Narrative with Photos: